The final game in the mini SP Sudan campaign saw my Dervishes take on Dave's British again. In this scenario the British have to rescue a preacher and his daughter that the Dervishes are holding captive in a fort.
The table is more open than previously, the Dervishes have fewer men and are at least in theory defending though it is hard to defend when most of your force only fights in close combat.
The British base is on the Nile with the Naval Brigade and Highlanders making up the assault force:


Having taken the deployment point the Naval Brigade forms a firing line to support the Highlanders:


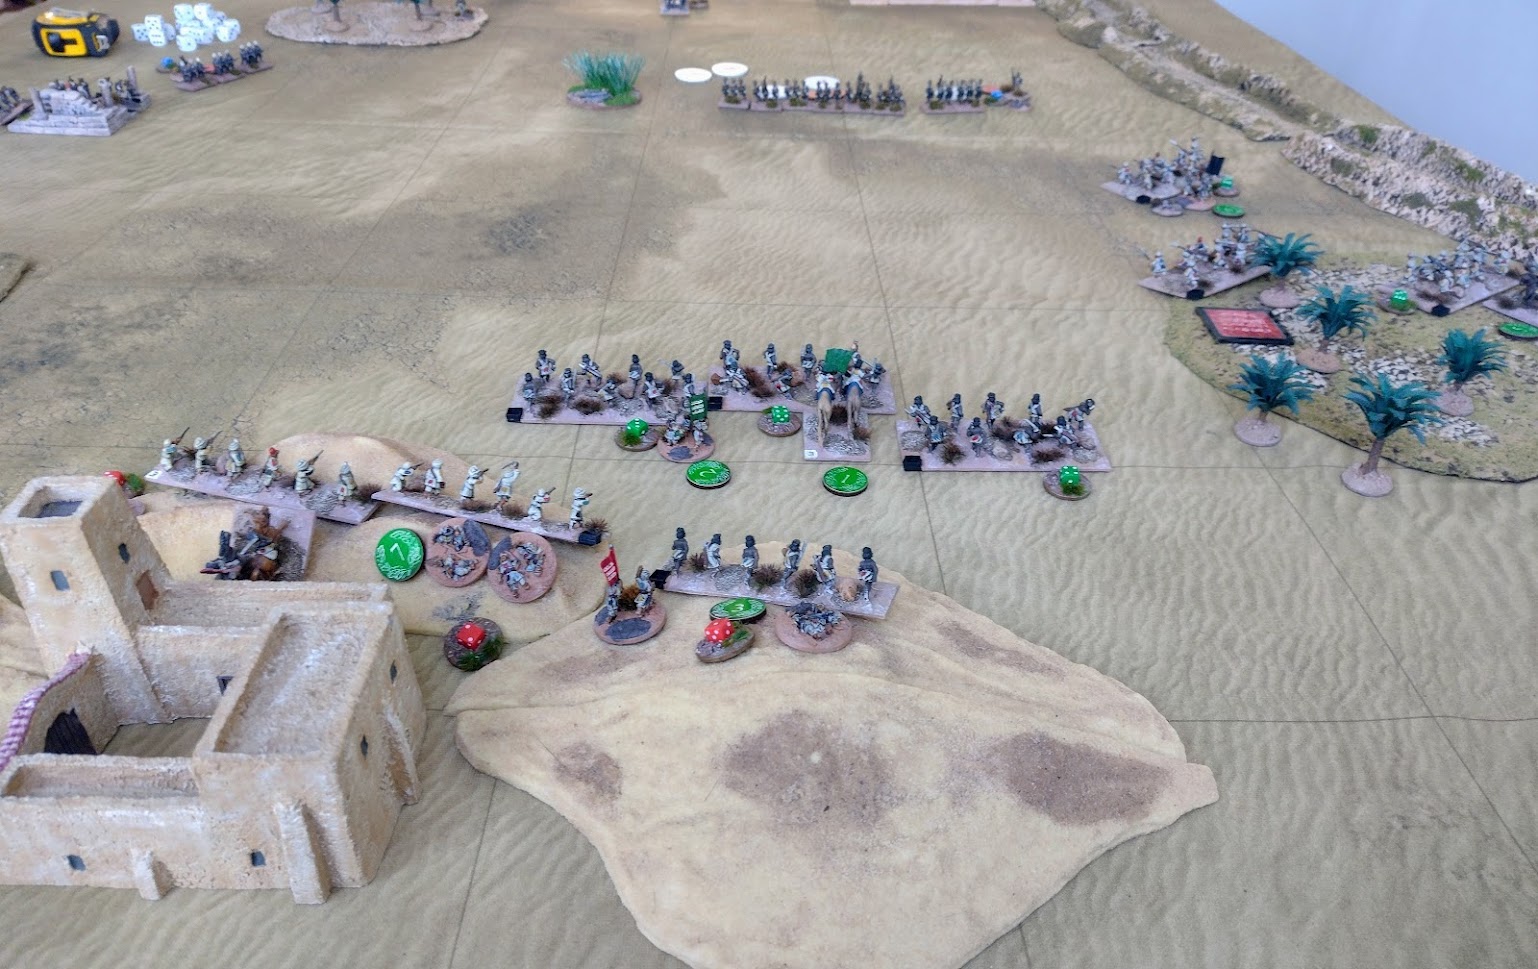

The Dervish lines reform as they prepare to attack the highlanders:
On the right one group of Dervishes have almost caught the retiring Highlanders. The rest of the Dervishes are taking fire as they prepare to charge home:


The vast number of casualty markers on the Dervish units show that the fight has been by no means one-sided:


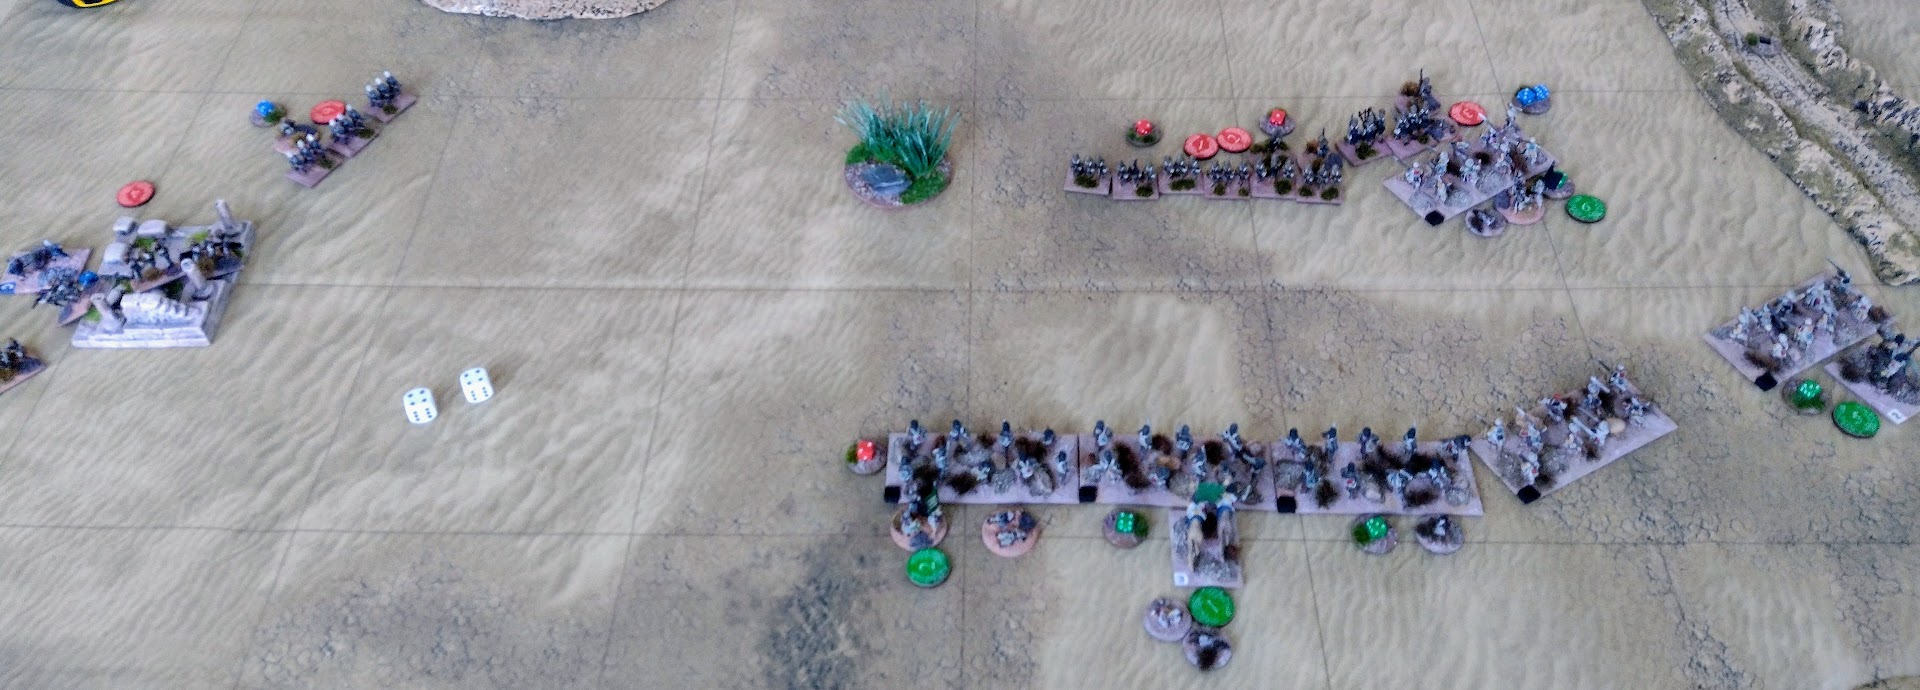
The Dervishes have taken a lot of casualties themselves:

We've played four games now all of which have been Dervish victories. I must admit I couldn't see anything else Dave could have done in this game but, while the Dervishes did win, like the last game it was closer than it looked and could have gone the other way.
Much for the Dervishes depends on timing your attack, making sure you have the minimum of open ground to cover and hoping that your leaders activate before the British do! Adopting a square isn't really practical in SP though it is possible the British could use their flag cards to do different things (such as more crashing volleys) and a couple of the rule modifications are not that clear (the effect of having the Sharp Practice ability for the British, the loading time for Dervish captured rifles).
It's been great getting these old veterans (and a few newly painted ones) on the table again and hopefully we will play some more games, perhaps after thinking about the modifications and making some more adaptions!
No comments:
Post a Comment