Gary and I played the second scenario in our "24 Hours to Basildon" PSC last night. In the first scenario the LDV had managed to inflict significant losses on the Germans before falling back to fight again.
The second scenario "What's Behind Bully Tonight?" is fought on the outskirts of Margaretting where the British have to destroy a culvert under the main road while attempting to hold the Germans up. Each side would receive 8 support points while the LDV would be down three men (not so significant as they were unarmed!) and the Germans down 6 men, doubtless resulting in Gary disbanding a rifle team from one of his squads.
The map for this scenario is much more suitable for a fighting defence with the Black Bull Inn giving a base for the defence, some other buildings to hold and limited access for wheeled vehicles. As there are only five scenarios in this PSC I felt it was time to make a stand with the LDV unlike in the first game where I'd aimed to hit and run as it were. My objectives were 1) to blow the culvert up (gaining more support in the next game), 2) to inflict further losses on Gary's weakened platoon and 3) to, if possible, win the scenario and inflict the first delay on the Germans. To achieve this I was prepared to take some losses if necessary!
The Germans approach from the left while the British hold the pub and buildings:
The "Black Bull" Inn, one of Gary's excellent buildings. Behind it there is an impromptu demolition team consisting of two itinerant French onion sellers who happen to be explosives experts! They need a task roll of 12 to move the explosives to the culvert then 9 more to set the explosives and detonate them:
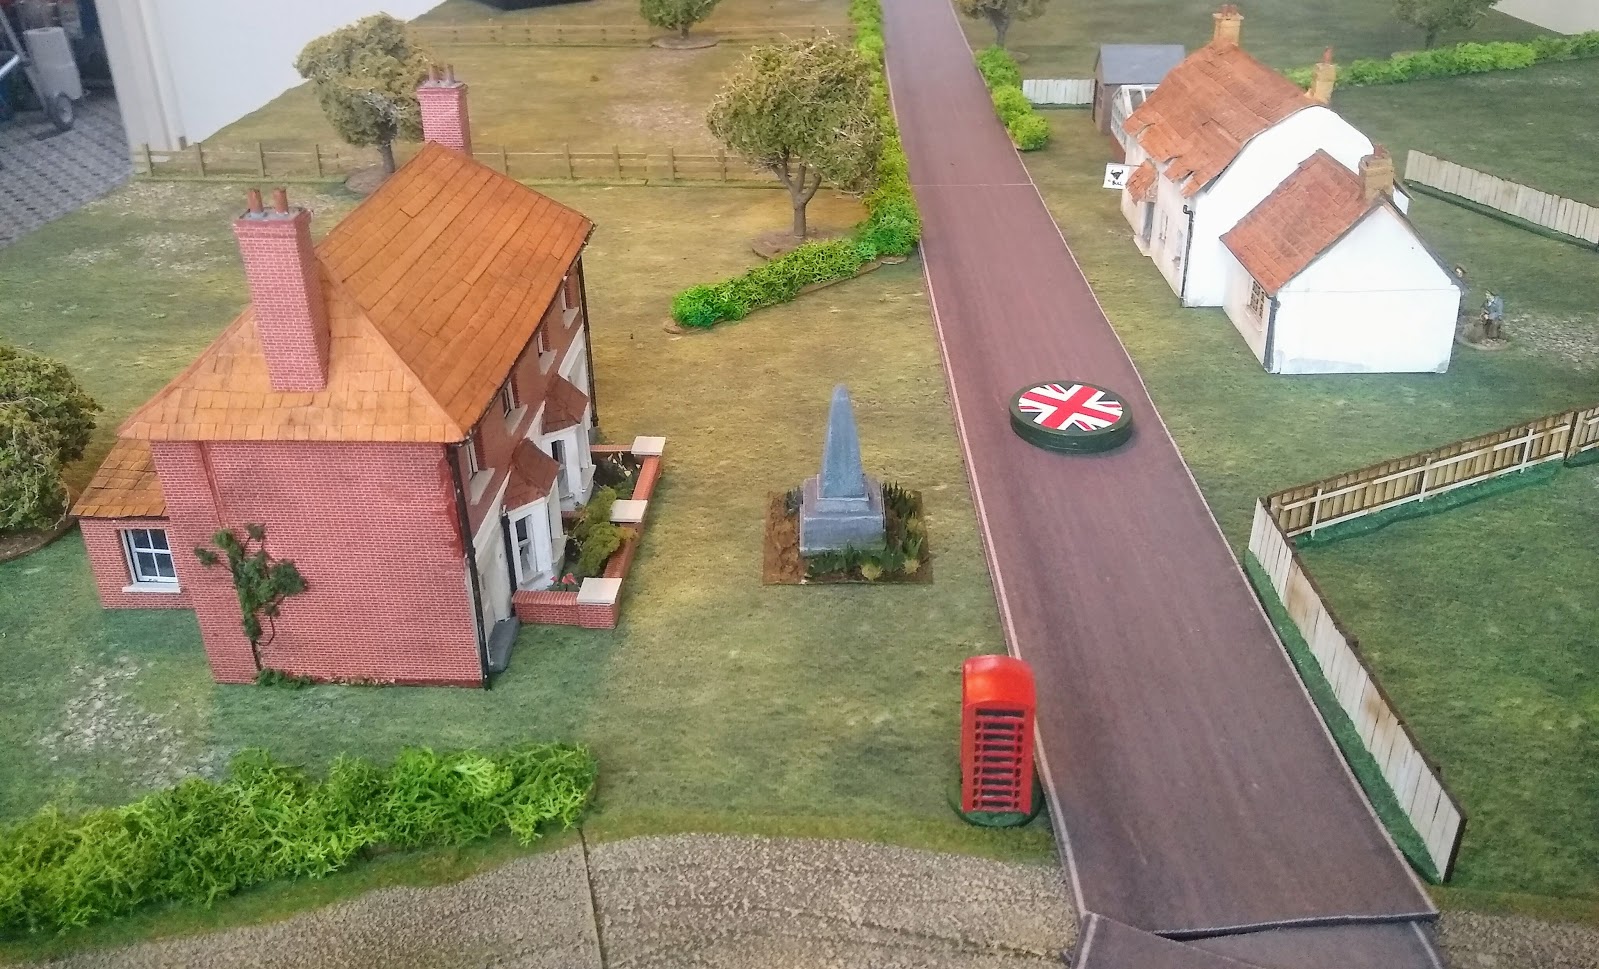
Another of Gary's buildings, a large detached house with the village War Memorial in front. The culvert is at the crossroads near the telephone kiosk:
The British have deployed two minefields, one to block the main road and a second on their left behind the detached house. The Germans immediately start their attack bringing on two squads and the inevitable armoured car together with an infantry gun. A powerful force!:
Sgt Baker deploys and encourages the Frenchmen to move the explosives quickly, apart from this no British are yet to be seen:
The Germans continue to advance, they are getting close to the pub now and the British will have to do something soon. Not having the command die to activate the Sgt or the demo team for a couple of moves and rolling low on the task means that the explosives are moving more slowly than the British had hoped:
The Germans have set up a lot of firepower aimed at the pub. So far it is quiet but the British had hoped to have moved the explosives by now. To prevent the Germans from capturing them the LDV will have to deploy someone in the pub after all which wasn't part of the initial plan!:
Cpl Lewis' squad deploys into the pub. At least the shotgun armed members will be able to fire at this short range!:
The fire is largely ineffective but does manage to kill the Obergefriter of the German squad!:
Unfortunately the Germans respond with deadly effect, four of Lewis' squad becoming casualties and Lewis himself wounded:
With Lewis' squad almost wiped out the LDV deploy Wallace's squad upstairs in the pub:
Their fire is more effective, taking out four Germans:
From a combination of not having the right command dice and only throwing a one for the task when they did the itinerant Frenchmen have
still not managed to move the explosives:
To try to reduce the amount of fire aimed at the pub the LDV deploy a Boyes Rifle and crew. It takes a shot at the armoured car and misses:
Again the pub proves to be a death trap for the LDV, Cpl Lewis has a sole survivor with him and is pinned while Cpl Wallace has lost half his squad. LDV morale is falling quickly:
Further German fire proves too much for Lewis and his companion who flee from the pub. Wallace only has two men left with him now. Things are going badly wrong very quickly for the British:
Cpl Lewis and his man flee from the pub. The Frenchmen have finally moved the explosives to the culvert so maybe there is still a chance of salvaging something from the fight?:
The firefight rages on at the pub:
The Frenchmen don't seem keen to rush and barely make a dent in setting the explosives up:
Cpl Lewis and his man are cut down by the German squad that had been advancing behind the pub without seeing much action. The LDV's morale is almost broken:
The third LDV squad under Cpl Roberts also deploys into the pub but fares no better than the other two and is shot up:
The battle is over as the LDV flee the field without having destroyed the culvert, inflicted many casualties or delayed the Germans at all. A brave fight by the volunteers that may go down in history none the less!:
So a heavy defeat for the British who took a massive 18 casualties, almost all in the pub. The Germans only suffered four losses plus the Obergefriter all of whom will return to action in the next game together with the three men lightly wounded in the first game. The LDV platoon is effectively wiped out having lost nine men permanently with a further four out for the next game (that's 13 out of 26!) and the men's opinion at -2.
Gary certainly played well, he set up an impressive fire base and with 8 support points could afford both the armoured car and the infantry gun which did much of the damage to the men in the pub.
I'm not sure if I played badly or not, things certainly didn't go according to my plan. I was hoping to have transferred the explosives before using up more than one squad defending the pub but the limits of only four command dice and poor rolls for the task meant it took way longer than I'd anticipated. Once I'd committed the second squad to the pub it was going to be hard to stop the Germans but I still hoped to destroy the culvert but that didn't help and I ended up throwing the third squad in as well to equally little effect! The other choice I made was to deploy the AT rifle rather than the MMG which had been so effective in the first game (I had this as well but it never got on table), on reflection maybe I should have used the MMG but then if the AT rifle had taken out the armoured car I'd probably think differently!
As a result I'll now have to play the remaining three scenarios with a single platoon of Home Guard. They are slightly better than the LDV and have more support choices but still only get four command dice and little integral LMG support. The British certainly have their backs against the wall but of course there is always hope and all is not lost yet!


No comments:
Post a Comment