The start of another PSC, this time the Saipan one with my Japanese against Tim's USMC. The first scenario sees the Americans attempting a beach landing in the face of the Japanese which is an interesting concept and is certainly a different scenario to those I've been used to!
The Japanese start off with some entrenchments, tank traps and a bunker, with 9 support points I went for an MMG team, a 37mm AT gun, an entrenchment and a minefield. The Americans have a huge 20 support points but are unable to select any tanks being restricted to the use of LVT's in this scenario.
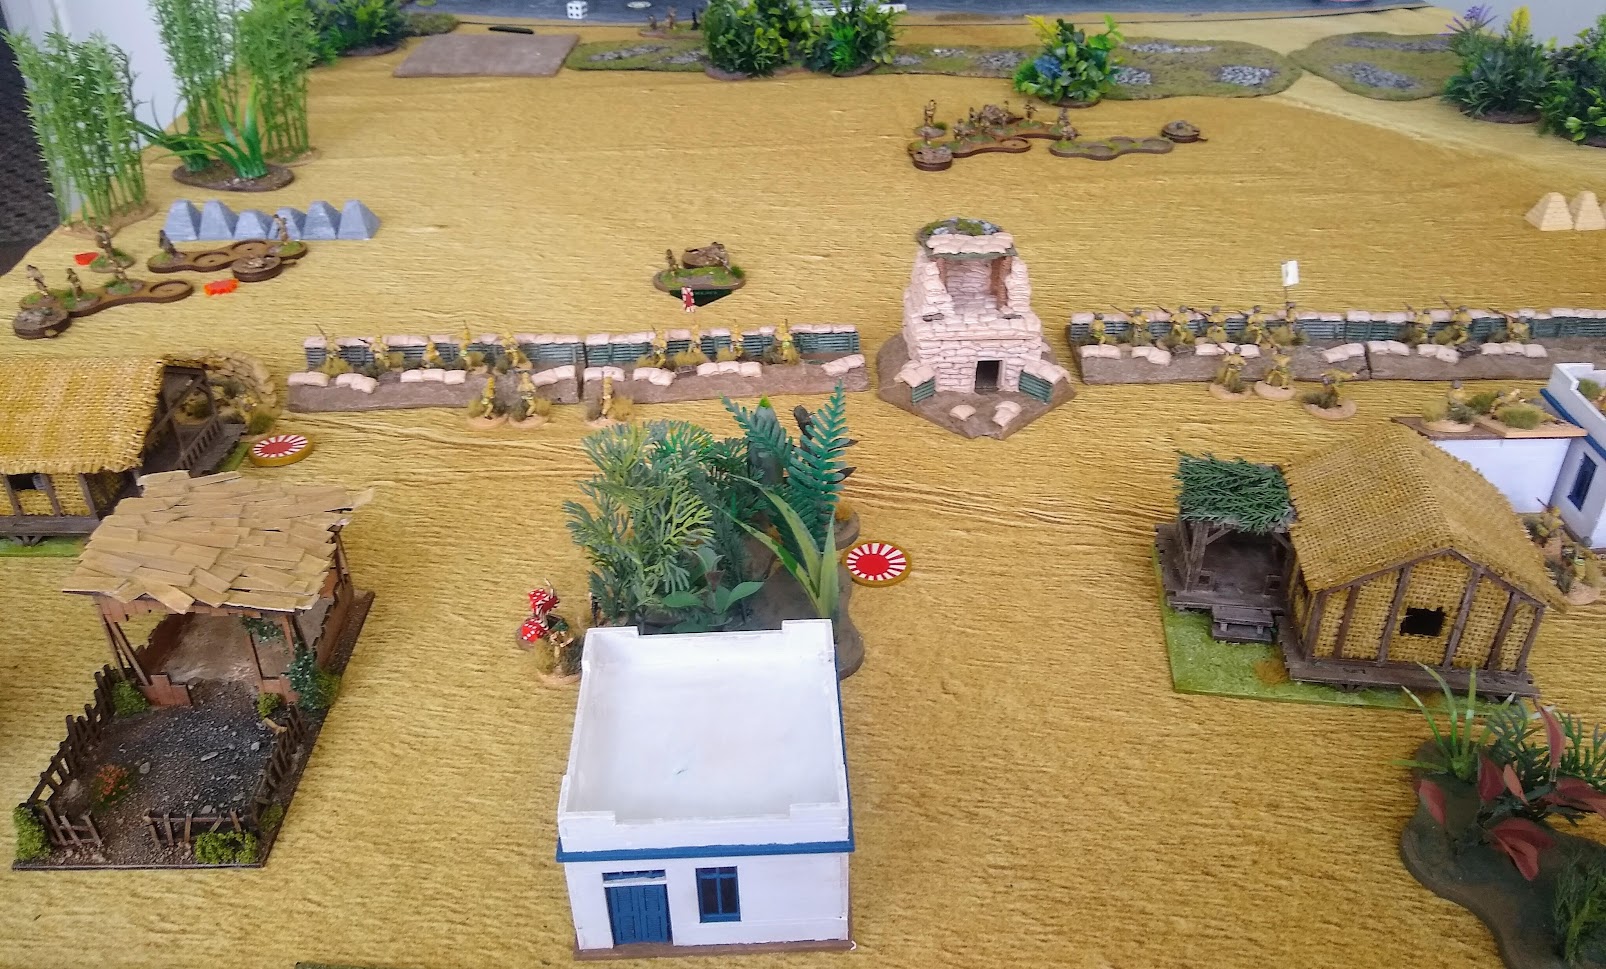
The patrol phase went largely as expected with the Marines getting JOP's on the beach behind the embankment and the Japanese JOP's being around their fortifications:
The first Marines arrive! All their squads suffer from an automatic loss of men when deploying in the first turn and Tim was rather unlucky with this as each squad lost the maximum three men! There is also an AT gun lurking in the woods:
A second squad appears and moves around the minefield into the woods:
The third USMC squad arrives and the Americans begin to advance:
PSC tend to lead to additions to a force, in this case Tim had acquired an LVT (A)-1 which started splashing through the sea:
The USMC continues to advance, they are exposed in the open but poor command dice from the Japanese has prevented them deploying so far. If no one appears soon it will be an easy victory for the Marines!
Another less than ideal command dice roll means that all the Japanese can deploy is a MMG in an entrenchment. It opens fire but has little effect despite the Marines being in the open:
The Marines continue to push forward. At last one of the Japanese squads arrives and deploys into the entrenchment:
Following some preparatory shooting which kills the Japanese corporal the Marines assault the Japanese line!:
The resulting fight is short and very bloody with both sides being rated as 'aggressive'. All the Marines are wiped out and only two Japanese survive, the Japanese survivors promptly rout due to shock:
Finally the Japanese get a good command roll and deploy most of the remainder of their force. The Marines are now in a tricky position in the open and facing some serious firepower:
Both sides exchange fire. Despite being caught in the open the Marines hold up well:
The Marine section on the Japanese left is pinned and almost broken. In the centre a scout team grimly hangs on while on the right the Marines have fallen back into cover. The Japanese are also taking losses especially on the left hand squad. Having taken a lot of damage the Japanese are now gambling on winning the scenario, if they lose they won't have much of a force for the next game:
The Marines on the right break and run! Amazingly the scout team are still holding on in the centre!:
The LVT (A)-1 finally hits the beach! It opens fire on the Japanese to support the battered Marines in front of it:
An LVT-4 (the venerable Airfix kit!) had earlier arrived but had failed to move forward. Taking it in their sights the Japanese AT gun looses off a round at it. The gunner must have been an excellent shot or lucky as the shot hits home and forces the LVT-4 to retire off table! Both sides force morale is now dropping with the Marines in serious trouble:
The Marines have brought on another section but Japanese fire has broken the last of the initial Marine sections and finally driven off the scout team. Their morale breaks and the Marines sullenly retire to the beach! The victory has come at a huge cost for the Japanese though as another section of their platoon has routed on the left:
The surviving Japanese hold the line for the Emperor! Their numbers are sadly reduced though:
Overall losses were 24 men for the Japanese resulting in them being down 11 men for the next game (7 dead and 4 wounded). As I have to play the first three scenarios with the same platoon that's not great but we have scored our first delay to the American plan. The Marines lost 25 men but that does not really matter as they get a fresh platoon for every attempt at the beach landing though the losses do affect the men's opinion.
Looking at the map for the next scenario it didn't seem particularly suitable for defence so I've opted to stay and defend the beach again. The Japanese need to score three wins to get a draw in the campaign, any more than that would be a victory. It will be harder to win the second time as Tim probably learnt a lot from the first attempt and I'll have considerably fewer men. On the positive front though I'll get to keep the defences I bought in the first game and have a 'free' extra one so the position will be stronger.
As ever with these campaigns it will be a balance between trying to hold the beach again and ensuring I have something left to use in the next two scenarios (or accept that I'll just concede those). It was certainly a close, fun game and quite different to the usual scenarios I've played!


Great report of the game. I'm looking forward to seeing how Tim does with this campaign.
ReplyDeleteThanks Tamsin, I'm afraid my jungle is nowhere near as nice as yours (and I'm not sure it is meant to be jungle anyway). It was a close game, I could easily have lost and I'm sure Tim will have more idea about what to do next time! With a whole section missing it is going to be tough to throw the Marines back again....
ReplyDelete