Sunday 25 June 2023

Cold War Commander BAOR v Americans

After several games of my Soviets against Simon's Americans we thought we'd have a change and try the BAOR against the Americans, after all it could be an exercise rather than an actual battle in preparation for the cold war going hot! 

The first thing I noticed was that you get an awful lot less British than Soviets which meant that with limited forces almost everything I have painted got used including two RAF Jaguars (though not the two Harriers I have as well).

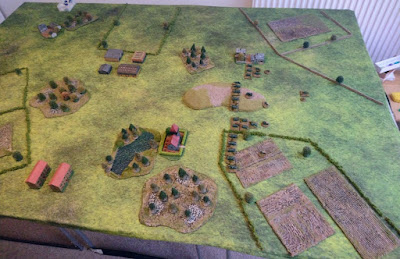
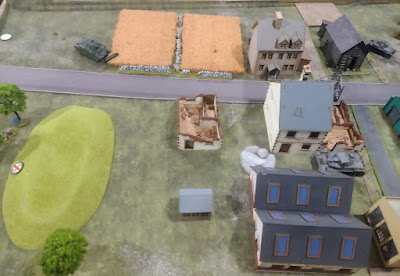
The British are arriving from the right, the Americans on the left:


Chieftains in the centre flanked by infantry in FV432's:

The Americans:

With the Americans having made little progress (Simon's Americans seem to love failing command rolls!) the British continue to advance with the infantry taking cover either side of the Chieftains:

More movement in the face of American inactivity:

Finally some action as an A10 strafes the Chieftains but is driven off by AA fire:

The RAF retaliate but miss their target:

Chieftains press on, in the distance the American tanks await the enemy:

An artillery strike hits the Chieftains:

Four tanks take hits:

The A10 returns, adds a few more hits and suppresses some of the tanks:

Demonstrating excellent combined arms tactics the American tanks pour fire into the left hand group of Chieftains. Hits and suppressions mount:

They also overcome their command problems and manage to continue firing:

Three Chieftains are forced to withdraw and five are suppressed but the resilience of Western tanks results in none actually being knocked out:

The Jaguars return but are again off target. Not a good day for the RAF!

The next A10 also misses though:

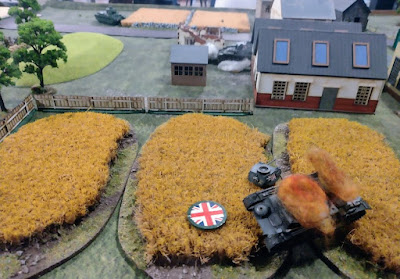
US and British IFV meet across a hedge!

More US IFV have moved up into the central wood, unwisely as it transpires with four out of five being taken out by the remaining unsuppressed Chieftains. In return the American tanks finally knock out a single Chieftain:

It's not a good day to be an infantryman as two FV432's are knocked out:

As it was getting late we called it a day at this point with the action undecided, the Americans had lost six IFV to the British two plus a Chieftain so honours were declared even and both sides withdrew to contemplate the lessons of the day!

Simon combined his artillery, aircraft and armour well but even so the resilience of Western tanks made it hard for him to convert this into knocked out tanks. He also suffered from dismal command rolls as he seems to in every game with the Americans, they really don't seem to like him!

From my point of view looking back it is interesting that after the games with the Soviets I have developed a rather Soviet way of doing things which I didn't change here! The Soviets get a significant command bonus if everyone does the same thing hence that's how I play with them. This time I'd have benefited a few times from the flexibility of allowing some of a command to do different things ( some move, some fire for example) but I didn't think of that!

I'm also interested in how you make ATGW work (they have not done much in our games so far) and the use of ambushes. Finally I must paint up my British artillery and add a few more bases I think to up the choice for the army a little....
 

Monday 19 June 2023

LaSalle French v Russian

My second game of LaSalle, this time in Norfolk using my French against Pete and Mel's Russians. This time we went for the 'Hold Your Ground' scenario at the large (300/250 points) scale.

I was defending with the French and went for a French Infantry brigade, a Bavarian Infantry brigade, a Light Cavalry brigade and a Cuirassier brigade. All the cavalry started off table and would hopefully arrive quickly. The objectives were two towns and a point behind the French held hill.

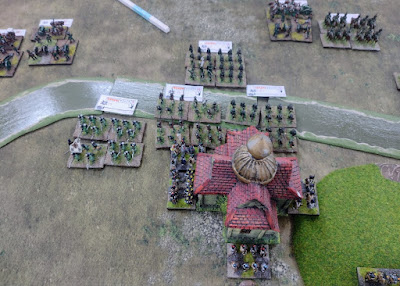
The Russian army was huge with masses of artillery. The Bavarians deployed to defend the town on the left, the French the one on the right:


The Russians advance:

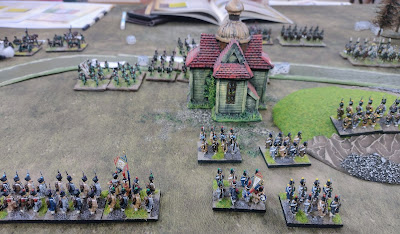
Russian Cuirassiers advance on the Bavarian infantry:

On the right the Russians prepare to cross the river and assault the town:

They cross the river and attack the town:

Disaster for the French as their outnumbered infantry are broken and flee:

The Cuirassiers menace the Bavarian infantry who form square in response. This may not be a good idea given the amount of Russian artillery in the distance:

On the right the Russian cavalry advance over the hill but are faced with French infantry in square:

On the left the Russians assault the second town:

Disappointingly the Bavarians are also routed: 

The rest of the Bavarians are still facing off the Russian Cuirassiers:

With the failure of any French cavalry to arrive the rest of the army is starting to struggle:

It's not all bad for the French though as some Russian Jaegers are routed by fire:

At last help arrives, it is only the Light Cavalry though. Perhaps they can stabilise the situation:

They certainly have an impact, immediately forcing the Russian infantry to rethink their plans:

Fire almost takes out another Russian unit:

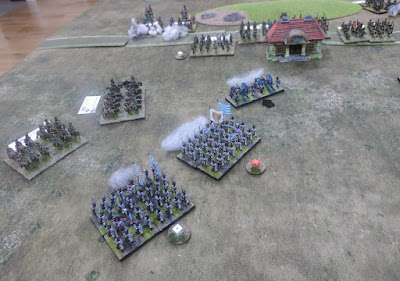
The French line charges home and finishes the job:

At this point we called it a day as it was getting late. The Russians had captured the two towns but lost slightly more units giving them a minor victory. The failure of the Cuirassiers to turn up (in five turns) didn't help the French at all!

As for the rules we are still working out how to do things, using your momentum is critical with the timing of when you fire, move and rally troops influenced both by the tactical situation and the amount of momentum available to both you and the enemy.

Two things that did strike me during this game were firstly that Russian artillery in mass is very effective and secondly that it almost appears to be worth charging units as it appears much less dangerous to be the charging unit than the target.

Wednesday 14 June 2023

Chain of Command Case Yellow Campaign Game 3 'Swift to Support' British v German

Having missed a round in the campaign the only game I could arrange for this round was against a fellow German player, Will. As a result I temporarily changed sides and took a British Line of Communication platoon while Will used his 7th Panzer Division force.

The LOC platoon is not a usual choice but as this round represented the German attack on Calais and the LOC formations fought there it seemed a different option that might be fun. Made up from assorted drivers, storemen and cooks etc the platoon has only three sections with one Bren gun between them and a single senior leader. It is also rated as 'green' giving it only four command dice. This results in a remarkable -10 force rating which gave me a huge 28 support points for the game!

Given that in this scenario the British can't use any support troops until turn two (and with only four command dice the prospects of ending the turn by throwing three sixes or accumulating a CoC dice are limited) the initial aim is to delay the Germans as long as possible especially as they have a lot of support points too and are liable to bring a lot of armour. As a result a lot of my support went on defences and a pre-game barrage with only a Matilda and an MMG as support units.

The outskirts of Calais:


The view from the German start line:

JoP's deployed, the Germans are stuck in the top right corner while the British place theirs well back:


The British deploy four sections of wire, two minefields and a road block considerably reducing German lines of approach when combined with the buildings. The Germans begin by deploying a Panzer IV, a Panzer II and an infantry section:

The Panzer IV moves along the road while the Panzer II moves off to the left. Until the Matilda arrives the British have nothing that can hurt the tanks so they really need the turn to end!

Fortunately the Germans roll a turn end and the Matilda is able to deploy. Facing three German tanks (a Panzer 38t had also arrived) the odds are not in it's favour but with cunning deployment and use of terrain it might be possible to pick off the Germans one by one as, individually, the Matilda is a much better tank:

The Germans cautiously continue to advance:

British smoke obscures the Panzer IV's ability to shoot:


The Panzer II starts to move forward to close down the British JoP in the fields:


It is almost close enough:

The British deploy an infantry section behind the hill:

The Sergeant attempts to join them but is delayed by a 5th Columnist:

The Germans advance a JoP and begin to deploy more infantry:

The Panzer II closes they JoP down! However, the Matilda has been waiting for it's chance on overwatch and opens fire killing the Panzer's gunner:

The Matilda follows up by putting another shell into the Panzer brewing it up:

With the Panzer II down the Panzer III decides to try it's luck:

The Matilda forces the Panzer IV crew to bail out! The German armour has failed so an infantry squad advances to take up the attack:

In response the British deploy another entrenched section on the hill with their lone Bren gun:

The support MMG also deploys by the burnt-out Panzer II

Caught in a cross-fire the German infantry break and the Germans withdraw:

An interesting game with the very different LoC platoon. My plan to delay the Germans with wire, mines and the roadblock worked well allowing me to survive until the first turn ended and I could bring on the Matilda, without that the German armour could have driven straight over my men!

I think I was also lucky with the Matilda, I managed to acquire enough CoC dice to interrupt at crucial points to allow the Matilda to fire before the Germans could and Will couldn't co-ordinate the three tanks he had allowing me to pick them off one at a time.

The next game will see me playing the same scenario again, this time as the Germans defending against the French. I anticipate having considerably less support points but the same issue with having nothing to face armour until the second turn so probably a different plan will be required!