Showing posts with label Blucher. Show all posts

Wednesday, 20 September 2023

Blucher 1809 Austrian v French

Our second 6mm game of Blucher, this time using 300 points of Austrians against Sean's French. Sean managed to out-manoeuvre me at the Scharnhorst map stage giving him 6 VP to my 4 VP, though with one of Sean's VP being on table if I could capture it we'd be equal on 4 VP each:

Both sides had three columns on table and one off-table, I had one potentially arriving on the French left flank while Sean had one arriving behind his left flank.

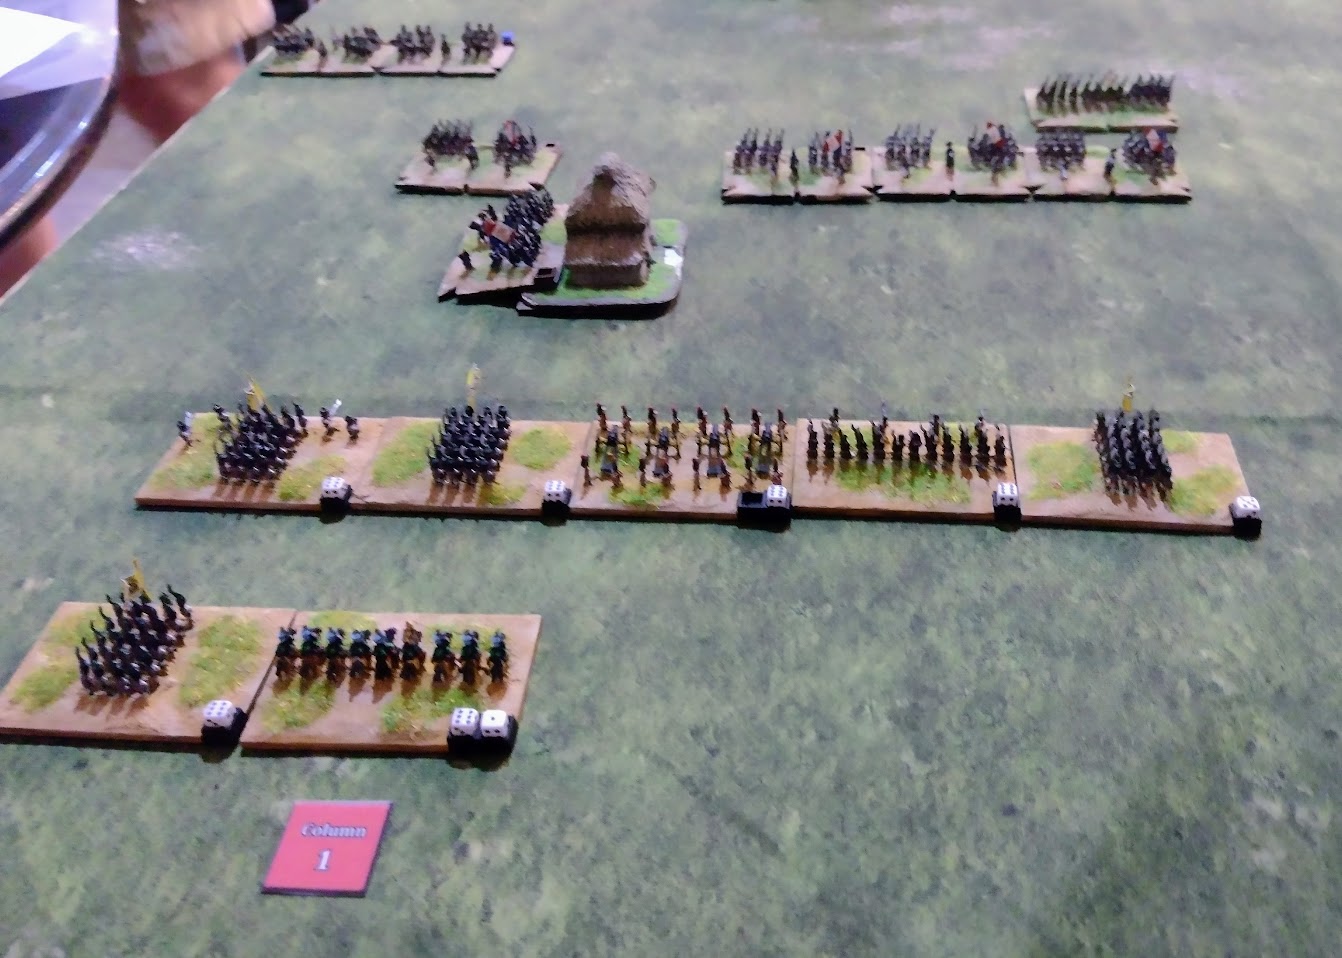
The initial set up. The Austrians plan is to capture the VP village the French hold on the Austrian left, attacking it with an infantry corps supported by the reserve corps which is deployed in the centre. The Austrian corps on their right will cross the stream and redeploy to the right of the reserve corps:


The Austrians waste no time moving to attack the village and starting a preliminary bombardment with heavy artillery:


The corps on the right flank redeploys across the stream as planned:

The French defend the village with infantry and a dragoon division:

The plan unfolds with the reserve corps moving up to support the attack on the village. the French, however, have countered with a cuirassier division in their centre:

Austrian hussars clash with French dragoons but get the worst of the combat:

Grenadiers from the reserve corps are more successful, breaking a French allied infantry brigade:

The Austrian attack progresses while the reserve corps cuirassiers hold off their French counterparts:

The Austrian hussars regroup behind their infantry, surprisingly the infantry are quite successful at shooting down French dragoons:

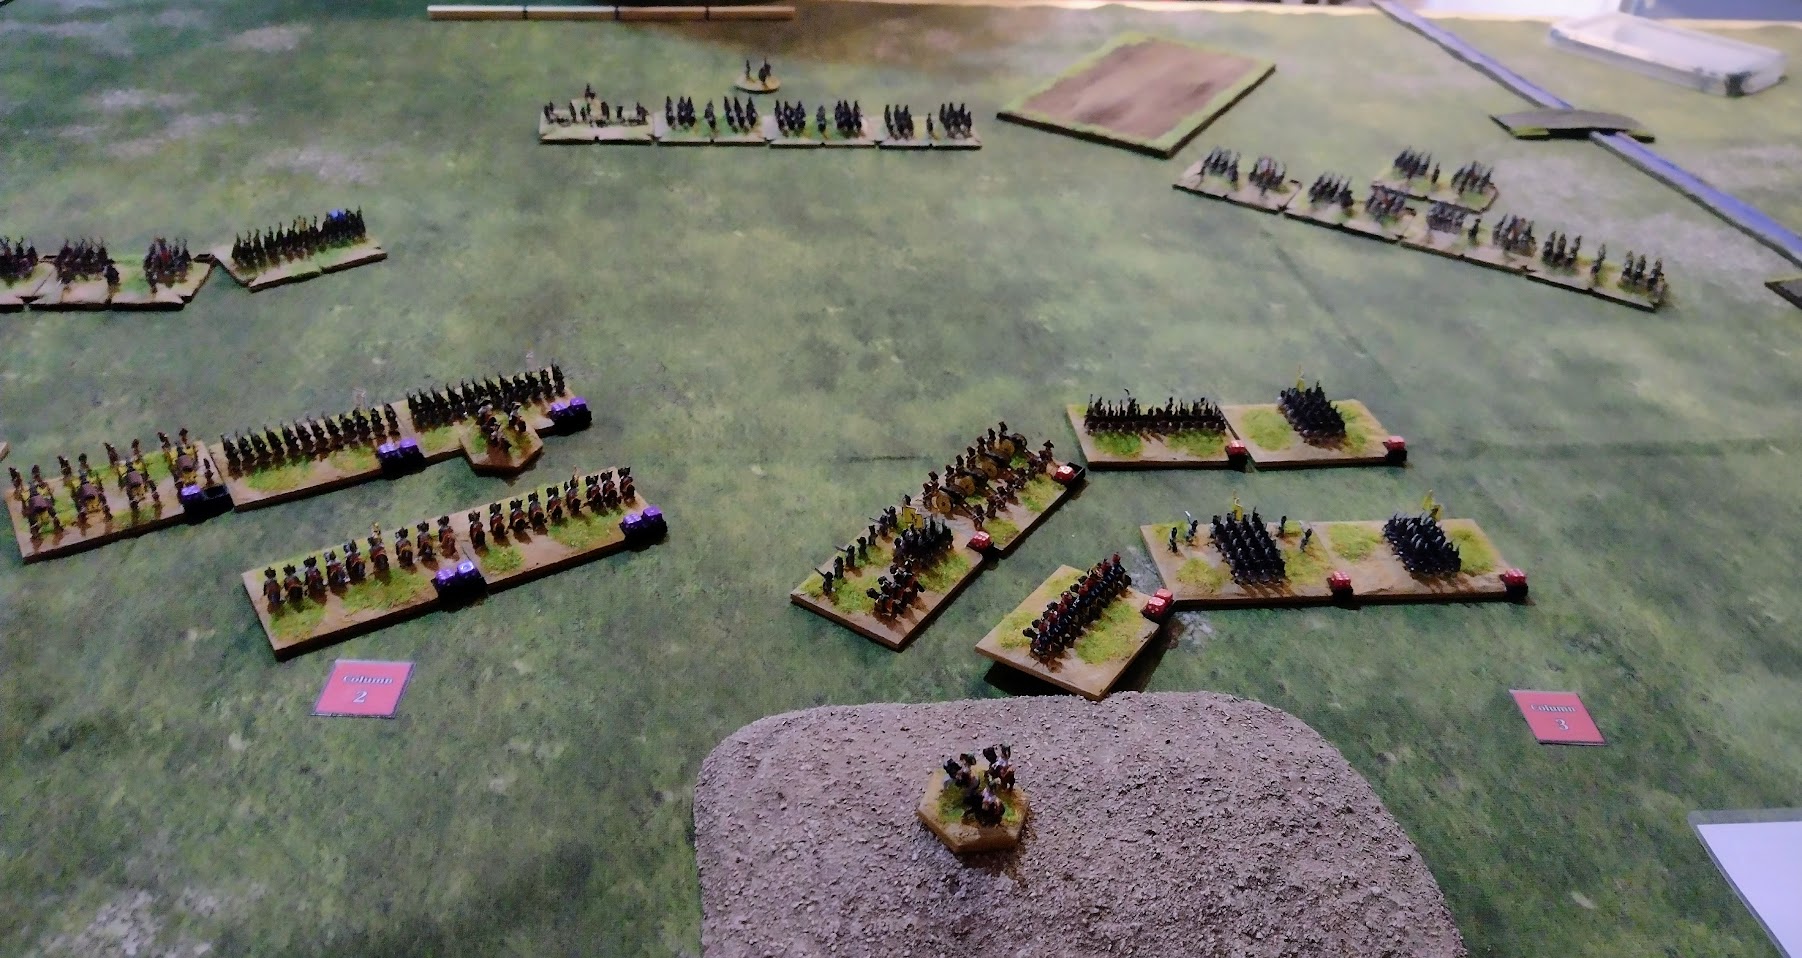
The overall picture (other than the columns which were off-table and had now arrived but were not really engaged at all):

Austrian grenadiers demolishing more French allied infantry:

Gaps are starting to appear in the French lines with brigades starting to break on both sides:

At this point after three hours with battle fatigue setting in we still had several turns to play until nightfall and both armies were a fair way from their break points so we decided to stop here. 

The French line was staring to collapse but the Austrians had suffered similar losses and both sides had several vulnerable brigades so the outcome was very much in doubt still. 

Playing at 300 points with 6mm armies certainly makes it look like a battle, but the extra MO to move units every turn (three MO dice instead of two at 200 points) results in the turns not unreasonably taking longer to play and it being somewhat easier to withdraw damaged brigades before they rout. A smaller table might have helped but I'm not sure how much as it is the MO dice that limit what you can do really, not the table size (the same issues arise in 300 point 15mm games where the table is relatively smaller).

Tuesday, 4 April 2023

Blucher 1809 Austrian v French

My first Blucher game for quite a while with my never before used but painted years ago 6mm Austrians taking on Sean's French. I went for a powerful Advanced Guard corps and two similar mixed infantry/cavalry/artillery Corps.

Sean immediately surprised me by committing four cavalry brigades to scouting and thus winning the initiative in the Scharnhorst campaign. 

After a couple of moves the Austrians got to declare the battle:


The French had achieved one more VP than the Austrians but the Austrians could still win on VP on the table if they managed to take the French held village.

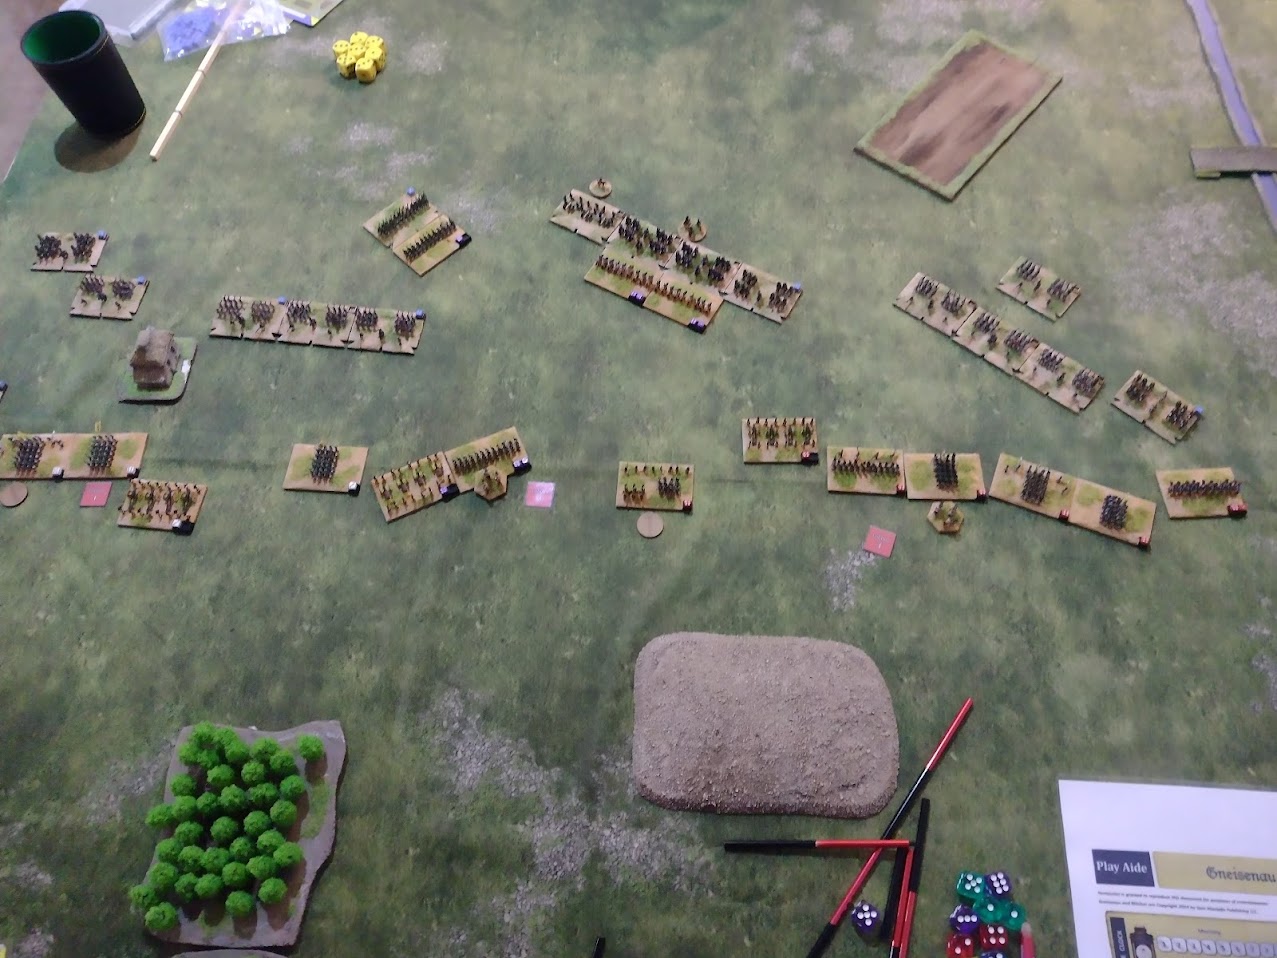
All the Austrian army was on table, the French had two columns on table with a third entering from their left rear:

The first action occurred on the Austrian left where some French Dragoons attacked advancing Austrian foot:

Despite not being prepared the Austrians see off the Dragoons easily:

Having to defeat the French army the Austrians quickly move to the attack, hoping to use superior numbers (and quality) to overwhelm the French corps on the right before the second French corps can redeploy to reinforce them:

The Advance Guard cross the stream and move to the attack:

On the left the Austrians have disposed of all the French cavalry but are now a long way from the action:

The Austrian attack makes progress but the second French Corps is arriving to fill some of the gaps:

Fierce fighting continues:

Grenadiers and Cuirassiers charge home:

On the left the Austrians are unable to move due to the Austrian command being rather busy elsewhere! The Dragoons do move up a little though:

The French are taking a pounding and start to withdraw covered by their second Corps:

The Austrians close in for the kill, will they be able to destroy enough French brigades before night falls?

Most of the French are very depleted now and on the edge of breaking while the Austrians have also lost a few brigades:

The French still hold the town so if the French army holds on until nightfall they will win the battle:

The Austrians manage to disperse one more French brigade breaking the French army:

A close game which was only decided with a couple of turns left, the French got very close to withdrawing all their battered brigades successfully before night fell.

Sean's army was an interesting composition with a lot of cheap allied cavalry and infantry plus artillery batteries attached to brigades rather than concentrated and gave him a lot more units than I expected.

Playing in 6mm worked well, the (relatively) bigger table made a bit of a difference with march moves not being quite so effective but it gave a good visual impression, was easier to transport the armies and has the potential to play more points on the same size table.

Hopefully after spending many years in a box since being painted the tiny Austrians will make more appearances!


Friday, 18 February 2022

Blucher 1809 French v Austrian

Simon's Austrians appear again taking on my early French army. I thought I'd continue to try a more aggressive approach (and use some figures that pretty much never appear) by choosing a single infantry corps, a Dragoon corps and a Cuirassier corps all supported by artillery and light cavalry. The army was small so would break fairly easily but would be powerful attacking hopefully.

My plan for the Scharnhorst was to get all my Corps on table by keeping them together, not taking many objectives and being able to declare an advantageous battle. I failed miserably in this, in the event the Austrians had all their units on table and held more objective points!:


The initial deployment shows the French somewhat surrounded! However, the Austrians get off to a slow start and make little initial progress:

The Austrians have unknowingly advanced towards the French Cuirassier corps. The Carabineer's charge the Austrian artillery but are driven off while the rest of the Cuirassier corps redeploys: 

The Carabineer's are left behind to delay the Austrians:

The rest of the Cuirassier corps has redeployed to the right:

In a clash of cuirassiers the French come out on top successfully resisting the Austrian charge:

The rest of the Cuirassier corps menaces Austrian infantry while their horse artillery attempts to weaken the Austrian squares enough to allow the Cuirassiers to charge successfully:

The French infantry corps is activated to join the attack. On the French left the sluggish Austrian forces have failed to make any progress (Simon had a whole run of very poor MO rolls) and awaits the arrival of the off-table French Dragoon corps:

Successfully 'riding to the sound of the guns' the Dragoon corps arrives on the first opportunity behind the Austrian right!:

The Austrians turn to face the Dragoons:

On the French right the attack on the hill intensifies:

The Austrians are a little outnumbered and the French are better quality. Gaps are starting to appear in the Austrian lines:

On the left the Carabineer's are doing a sterling job of holding off the Austrians:

Once again they force the Austrians to retreat:

The French gain a first foothold on the hill:

On the left both sides continue to observe each other warily:

The attack continues:

The French right is now really getting the upper hand and Austrian resistance is starting to collapse:

Austrian artillery under attack:

The hill should be cleared of Austrians soon:

One Cuirassier brigade moves round to threaten the struggling Austrian centre:

The Austrian artillery has been destroyed and the French press on:

The fighting intensifies:

Not everything is going well for the French though and they have several brigades on the brink of dispersing:

The Austrians are close to collapse though:

The Austrian army breaks and victory goes to the French:

A very close fought game which was closer than it looked, Simon lost seven brigades to my one but I had four more with a single elan point left and my army break point was only four! Simon was also unlucky with the momentum dice in the first few moves with a series of very low scores stopping him doing much.

I think I'd have been better off adding a couple more infantry brigades to the infantry corps and dropping a Dragoon and Chasseur unit from the Dragoon corps, I didn't really have enough infantry and next time I'll probably do that. As ever it was nice to get some rarely used units on table, the Carabineers especially performed valiantly holding up the French left flank!