Thursday 9 November 2023

What a Cowboy Lawmen v Mexicans and Navajo's

Back to Mexico for another WaC game, this time with my Lawmen taking on Jerry's Mexicans and Dave's Navajo. The objective was to capture a treasure-laden donkey tied up in the village.

As another experiment I went with only four characters this time, a Legend (Wyatt Earp), two gunslingers (Morgan Earp and Doc Holiday) and a shootist (Virgil Earp with a shotgun).

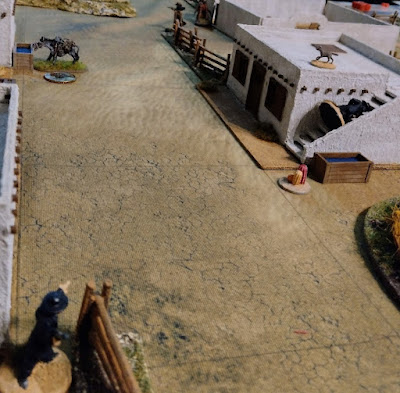
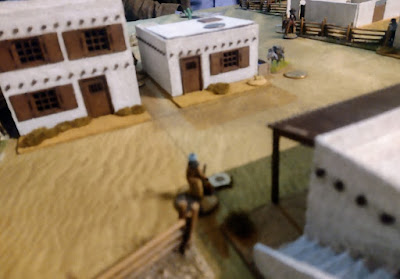
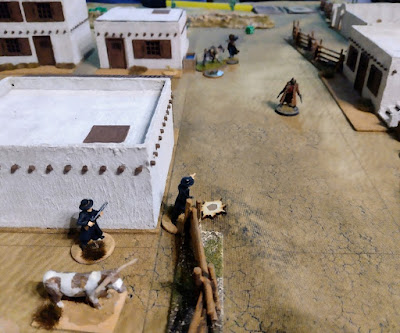
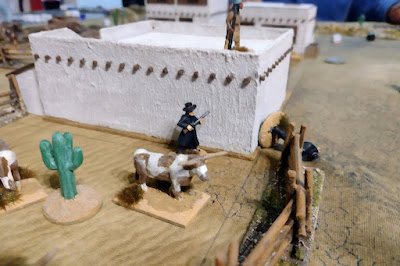
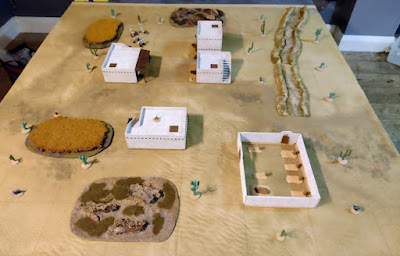
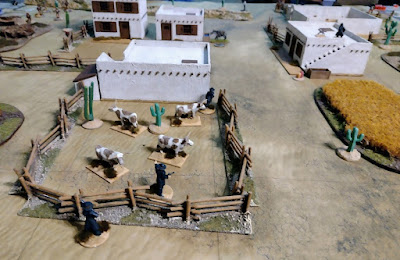
The village is quiet but probably won't stay that way for long:


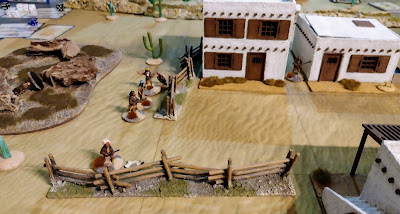
The Earp's move in lead by Wyatt and Morgan with Doc and Virgil following behind:

In the distance the Mexicans are closing in on the donkey. Wyatt has been shot at by a Navajo and has had to dodge back into cover:

Numbers of Navajo close in on the village:

Wyatt is targeted by more Mexicans and has to dodge back into cover again:

Doc is wounded:

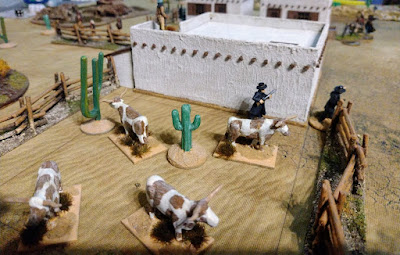
Mexicans and Navajo close in on the donkey:

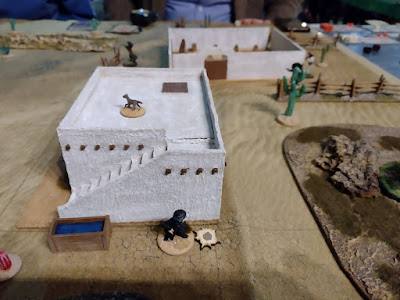
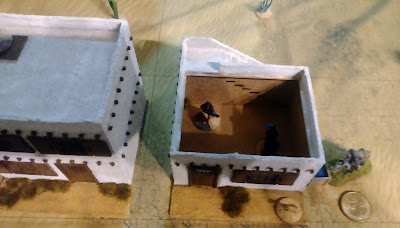
One Navajo climbs down from the roof into a building Morgan has occupied:

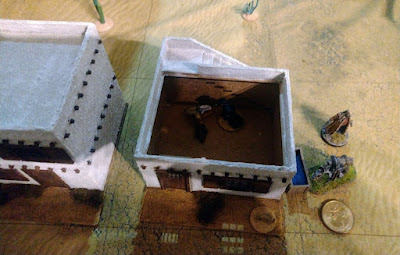
Morgan knocks the Navajo out. Meanwhile the Mexicans have taken control of the donkey:

The situation is not great for the Lawmen, Virgil has taken a head wound, Doc is also wounded and Wyatt is pinned down. Morgan holds the house but can't stop the Mexicans running off with the donkey:

Doc and a Mexican shoot it out:

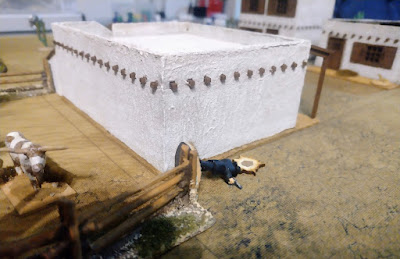
Doc loses the encounter and is shot down:

The Mexicans quickly took the donkey to safety giving Jerry the win!

This was my fourth game of WaC and, while it was fun, I think I'm coming to the conclusion I prefer Dead Man's Hand with it's greater depth and characterisation.

Everything in WaC is very generic, there was no difference other than random skill allocation between the Lawmen, the Mexicans and the Native Americans. You could just as easily call it 'What a Pirate' or 'What a Highwayman', which I guess is both good and bad!

I guess you could add that in but in DMH it is a big part of the rules and all the different gangs have appropriate advantages and disadvantages which make them play in a different style.

Perhaps next time I'll dust off DMH and see if Jerry and Dave want to give that a go, I also understand there is a 2nd Edition of DMH coming out soon which might be interesting.
Tuesday 7 November 2023

Bag the Hun RAF v Luftwaffe

Jerry and I returned to Bag the Hun, this time using his models and the introduction scenario from the rule book which sees four Spitfires climbing to intercept four ME109's. The British have an advantage in that one of their pilots is an 'Ace' (Biggles of course!).

The chaps (Biggles, Ginger, Algy and Bertie) climb over the Kent coast while looking out for the Huns


Enemy in sight! Tally Ho chaps!

Both sides are eager to get to grips with each other:

Two of the 109's get behind the British, the other two fail to follow and fly off into the distance:

There follows much jockeying for position with neither side getting a shot off:

At last one Brit manages to open fire!

More firing:

An ME109 manages to get on a Spitfire's tail:

Biggles tails one of the 109's:

First blood to the RAF, Biggles shoots down the 109:

A confused melee continues with planes flashing past in all directions:

Biggles tails a second ME109:

He strikes again and the ME109 is shot down:

The Spitfires close in on another ME109 which is tailing Ginger, fortunately for Ginger Biggles is already on the German's tail himself:

One of the earlier ME109's that was shot down finally splashes into the Channel. The pilot managed to bail out though:

Biggles claims his third victory in the encounter! The final ME109 is also damaged but manages to limp home:

BtH is certainly an interesting and comprehensive rule set which I think you'd have to play a lot to get the best out of. As usual we forgot some of the rules (running out of ammo for instance which certainly helped Biggles as he wouldn't have had enough ammo to shoot down three Germans!).

Having an 'Ace' was a huge advantage, the hardest part of BtH is actually getting to shoot at someone, most of the game consists of zooming around and failing to get a shot. The extra action card for an ace allows you to shoot or move doubling your change of getting off a shot at the right time.

Jerry's planes and the mat with the coast on it looked great, looking forward to playing again perhaps with some bombers next time.

ADLG-R Scots Covenanter v Scots Royalist

Another ADLG-R game against Simon, this time with my Scots Covenanters taking on Simon's Scots Royalists. I opted for a huge army with almost every unit mediocre apart from one elite Pike and Shot regiment and two average medium guns giving a break point of 35! 

I expected Simon's army to be much smaller, the plan being to overwhelm him on the flanks while ideally trading losses in the centre.

Most of the terrain ended up on the left. Unfortunately for my plan Simon's army was not that much smaller than mine and was of somewhat better quality:      

My army was a mighty horde though, I've never seen so many figures in an ADLG army! 


The initial clash occurred on the right where the more numerous and better quality Royalist cavalry gained an advantage: 

On the left the Covenanters had an advantage but were struggling to use their cavalry up against the terrain:

Charge! The only elite unit in the Covenanter army goes into action:

More violence in the centre where Royalist Highlanders are swarming into the Covenanter lines:

On the left the struggle favours the Covenanters:

Gaps appear in the Covenanter lines as their artillery is quickly overwhelmed:


The Covenanters have more reserves but will they help? 
Covenanter cavalry advance to outflank the Royalist Highlanders, they should have done this before but I forgot to move them: 

The Covenanter line starts to collapse: 

Losses mount on both sides: 

On the left the Covenanters get their act together at last: 

It is too little too late though as the Covenanters break in rout! 


Great fun and interesting to use such an unusual army composition, the Royalists lost a fair few units but it wasn't that close. Unfortunately I ended up making some of my frequent ADLG mistakes again, especially with the cavalry on the left which could have flanked the enemy much quicker.

I also hadn't realised quite how bad the light artillery interspaced between my pike and shot units would be, I should have dropped them back before they could be contacted as they were all wiped out very quickly.