Monday, 21 August 2023

O Group Scenario 1 'ADVANCE TO SMOLENSK, 1941'

My introduction to O Group thanks to Dave saw my Soviets take on his German's in Scenario 1 from the O Group Eastern Front book. I'd painted up the extra bases I needed a while ago and used some of the improved 6/10mm scenery I'd been working on lately.

The aim for the Soviets is to drive the Germans back over a river, needing to have no more than two German units across the river by move 10.

The map consisted of the river, several farms and villages and some woods:


Soviet HQ and mortars set up in an apartment complex:

The Germans move up a couple of armoured cars:

The Soviets counter with BT7's:

Soviet infantry advance into the woods covered by the BT7's:

German infantry approach the river bank while their armoured cars pull off the road to avoid the BT7's:

Being SMG armed the Soviets need to close the range and push through the forest to engage the German infantry:

On the right more Soviet infantry deploy:

Soviet forces continue to build up while the German infantry by the river bank take a lot of casualties:

The BT7's have moved up to cover the infantry but get hit by an artillery strike:

The Soviet infantry in the forest fall back having cleared the Germans from the river bank:

By concentrating a lot of troops in one area the Soviets have left themselves vulnerable to another artillery strike which the Germans quickly call down:

The artillery hit hard damaging the Soviets badly. On the right the Germans are pushing more men across the river:

One BT7 is knocked out and the other suppressed by a German AT gun:

The AT gun pays a price though as it in turn is knocked out:

The Germans now attempt to approach the river on the Soviet left but face significant opposition:

On the right the German advance has been halted:

Disaster for the Soviets though as one platoon is broken by German fire:

On the left though the Soviets have done much better, clearing away all the Germans attempting to cross the river:

With the game past turn 10 and only two German units across the river the Soviets gain a victory and have, for now at least, repulsed the Nazi attack!

I'd resisted O group for a while mostly as I had little enthusiasm for learning another set of rules! However Dave's enthusiasm combined with not really playing Rommel any more and already having a load of 10mm WW2 armies persuaded me to give it a go.

It was in fact quite good fun, a bit similar to CoC but with a time limit avoiding the tendency of CoC to degenerate into a just-kill-everyone game while avoiding the actual mission requirements totally.

Will be happy to play again and may even purchase the odd few things like AT guns and AC that were not needed for Rommel for my 1940 British so I can use them as well.

Monday, 7 August 2023

Scramble WW2 Finnish v Russian

A different set of air warfare rules this time, 'Scramble', which I think was published in the 80's and does not seem to be easily available any more.

Bill from the Norfolk club umpired the game and provided a short summary of the rules. Nigel and I were on the Finnish side with me having a Gladiator and a Fokker, Richard and Robin were our Russian adversaries with a variety of Russian aircraft.

My Fokker and Gladiator:

Nigel's planes in the distance:

The enemy is spotted! A Yak and a Buffalo (perhaps):


Both sides close:

No one manages to get a shot off though:

I think here I managed to take a shot at the Yak:


Aircraft whirl around rapidly:

The Yak almost but not quite shoots down my Gladiator:

The Fokker is also hit but not quite to the same extent:

The whole fight:

A fun game where it was difficult to keep up with the action as a lot of it, like BtH, is manoeuvring for position and trying unsuccessfully to get a shot off! In the end two Russian planes were shot down for no losses to the Finns (though my Gladiator was only a single hit off disintegrating).

The rules worked well and we soon got the hang of moving and firing (only one of us had played before so we were very reliant on Bill's help and knowledge as umpire!). The only really tricky part was the initiative system, winning that (a simple roll-off) seemed vital as then you could make all the opposition move first which is a huge advantage when trying to set up shots, I think perhaps BtH handles this better with it's cards for each flight to determine the order in which you move and shoot.

An enjoyable game on the whole which I'd be happy to play again.


Sunday, 23 July 2023

ADLG-R Ottoman Turkish v Later Polish

For a change from Cold War Commander Simon and I played a game of ADLG-R on Thursday. I used Ottoman Turks so Simon picked the most suitable opposition, Later Polish, complete with Winged Hussars!

I went for the later version of the army with a centre of musket armed Janissaries and two wings of carbine armed cavalry giving a decent frontage which would hopefully allow me to envelope the Poles.

The Ottomans attacked in the plains. The Poles have a strong right flank of mounted, a mixed German and Polish infantry centre and a left flank based on a hill and a war wagon:


On the left the Ottomans advance their mounted (largely to give them room to evade!) and capture the village with some mounted sharpshooters:

With no artillery the Ottoman infantry also advance with one elite unit being committed to taking the hill. The Ottoman right wing mounted mostly await developments:

Janissaries charge uphill into Polish infantry. Tatar light horse prepare to join in:

Both sides start to take shooting hits:

Impressively the Janissaries sweep the Polish infantry aside in one brutal combat:

Polish cavalry prepare to charge:

The Ottoman cavalry successfully evade but expose a Janissary unit to a cavalry charge:

The overall situation from above:

The Janissaries are making rapid inroads into the Polish infantry centre:

Even the Janissaries charged by cavalry have managed to break their opponents:

Deciding that evading again isn't really sensible and having put a few shooting hits on the Poles the Ottoman cavalry stands when charged:

Janissaries battle on in the centre:

As they are largely at a disadvantage at impact the Ottomans are very happy with a first round of combat that sees them inflict more hits than they take:

The Janissaries are smashing the Polish infantry:

The Ottoman cavalry also achieve a break-through:

The Polish centre and left have collapsed with Janissaries bursting through the lines:

The cavalry fight isn't quite so one-sided but the Turks are still doing well:

With all the Polish infantry wiped out the Poles break and flee everywhere:

An unusually crushing victory for me at ADLG-R, the Ottomans were nowhere near breaking and only lost a single Janissary unit and a couple of cavalry elements. 

If this was down to luck or skill I'm not sure, generally the infantry match-ups favoured me while my mounted did better than expected against Simons superior cavalry (though my guys were actually decent quality all being armoured and half elite).

As ever was nice to get an army I've not used in a long time on the table and try being the Ottomans rather than the Poles for a change.


Bag the Hun Imperial Japanese Navy v United States Navy

A return to 'Bag the Hun' after a considerable gap with Jerry. I took the Japanese while Jerry had the Americans (using the slightly less powerful Wildcats instead of Hellcats).

As Jerry hadn't played at all and I had only played two games before against Gary a long time ago we started with a simple 4 v 4 zero's against Wildcats game.

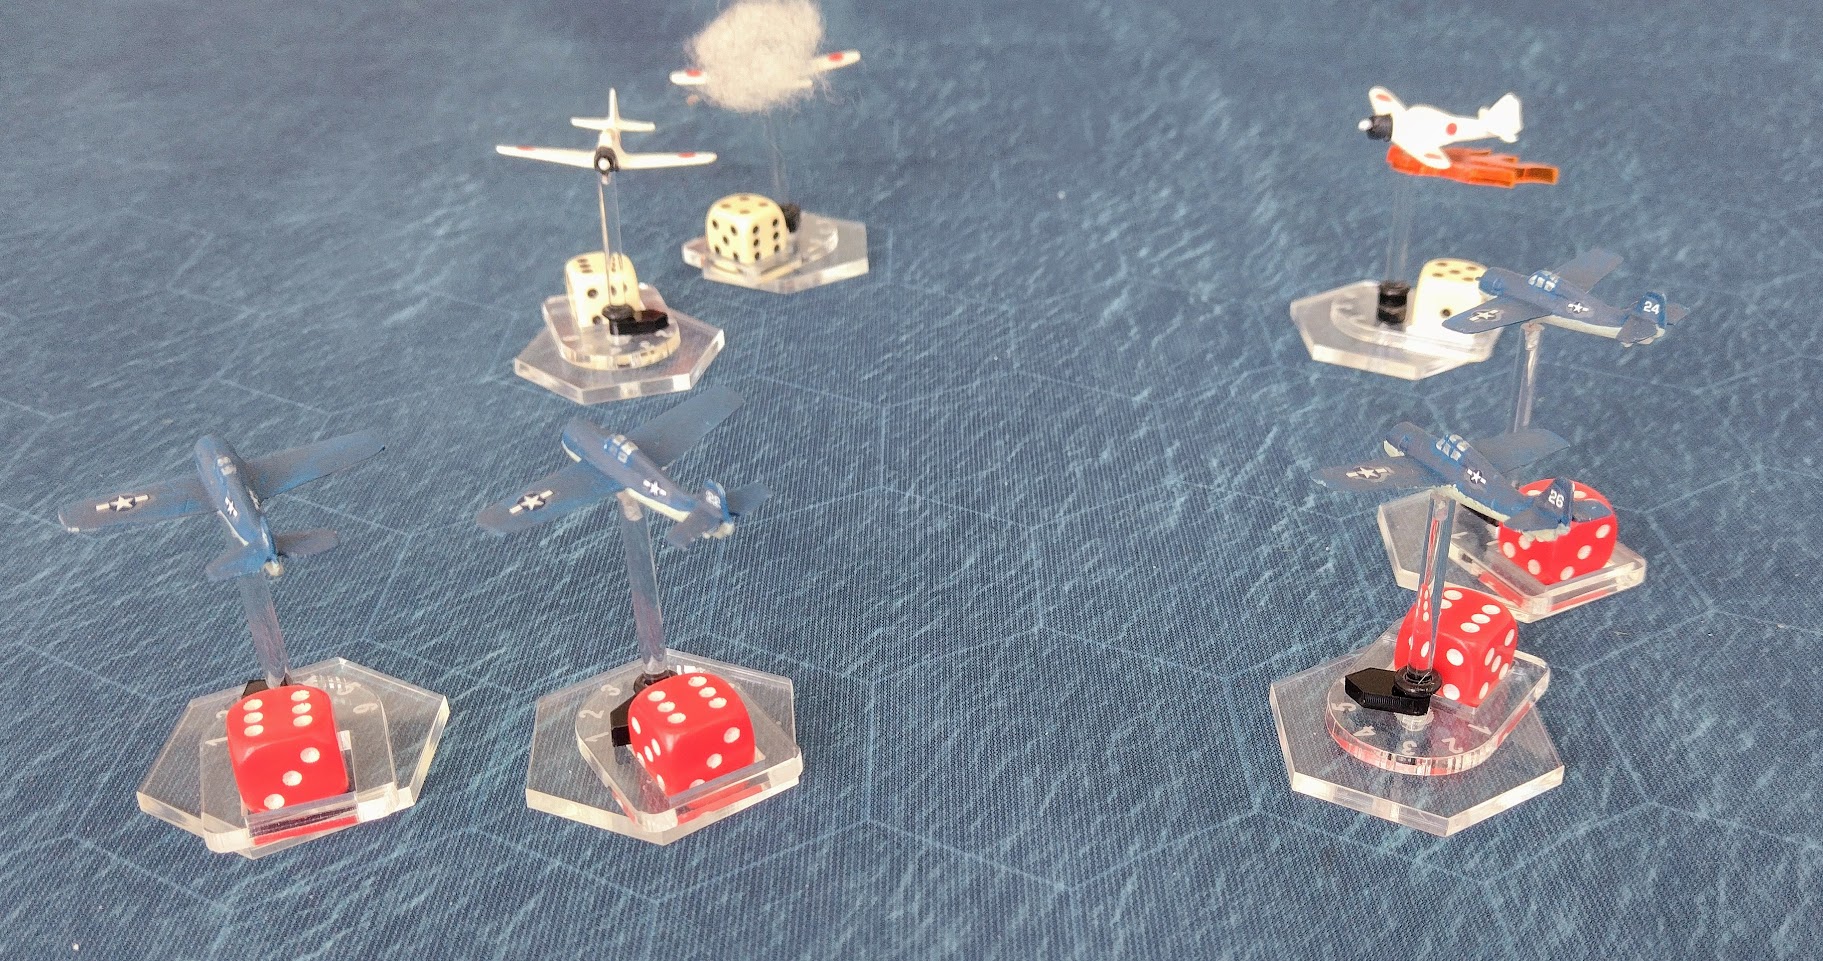
The Zero's attempt to get behind the Wildcats:


Unfortunately the Wildcats turn the tables and end up behind the Zero's!

In a scene familiar from the previous two games one Zero explodes immediately and another suffers a catastrophic structural failure:

Another Zero catches fire while the pilot from the structural failure plane manages to bail out:

The Zero on fire explodes leaving one Zero against four Wildcats and effectively finishing the fight:

For the next game the Japanese had a flight of three Betty bombers escorted by four Zeros against four Wildcats. The Betty's quickly came under attack from the Wildcats:

The escorting Zero's attempt to distract the Wildcats:

Remarkably the combined fire of the Betty's resulting in a Wildcat being shot down!

One Betty is on fire and has an engine knocked out:

The Zero's have failed miserably to engage the Wildcats:

The fire on the damaged Betty worsens but the pilot skilfully avoids more damage from the Wildcats:

Despite the crew's efforts the Betty blows up:

The Wildcats have outmanoeuvred the Zeros yet again:

The remaining Bettys escape off table:

At this point we called it a day. Over the two games the Japanese lost three Zeros and a Betty to the Americans single Wildcat. 

Unlike the previous games where the disparity in losses was perhaps largely down to the vast superiority of the Hellcat over the Zero the Wildcat and Zero seemed better balanced so probably this was down to my incompetence and Jerry's skill!

Bag the Hun is certainly a comprehensive and interesting rule set and the game was good fun. I think though that you'd need to play it regularly (or even practise!) to be able to select the best moves for your planes from the numerous options to ensure you end up in the right place at the right time which is (realistically no doubt) difficult to achieve.

I've seen a few campaign reports from other players which have a lot of character and have invested in 'Squadron Forward' as it also has a number of scenarios to play.

Jerry really enjoyed the game and is keen to get his vast Battle of Britain collection in action so I suspect we will be playing again soon!