Tuesday, 7 November 2023

Bag the Hun RAF v Luftwaffe

Jerry and I returned to Bag the Hun, this time using his models and the introduction scenario from the rule book which sees four Spitfires climbing to intercept four ME109's. The British have an advantage in that one of their pilots is an 'Ace' (Biggles of course!).

The chaps (Biggles, Ginger, Algy and Bertie) climb over the Kent coast while looking out for the Huns


Enemy in sight! Tally Ho chaps!

Both sides are eager to get to grips with each other:

Two of the 109's get behind the British, the other two fail to follow and fly off into the distance:

There follows much jockeying for position with neither side getting a shot off:

At last one Brit manages to open fire!

More firing:

An ME109 manages to get on a Spitfire's tail:

Biggles tails one of the 109's:

First blood to the RAF, Biggles shoots down the 109:

A confused melee continues with planes flashing past in all directions:

Biggles tails a second ME109:

He strikes again and the ME109 is shot down:

The Spitfires close in on another ME109 which is tailing Ginger, fortunately for Ginger Biggles is already on the German's tail himself:

One of the earlier ME109's that was shot down finally splashes into the Channel. The pilot managed to bail out though:

Biggles claims his third victory in the encounter! The final ME109 is also damaged but manages to limp home:

BtH is certainly an interesting and comprehensive rule set which I think you'd have to play a lot to get the best out of. As usual we forgot some of the rules (running out of ammo for instance which certainly helped Biggles as he wouldn't have had enough ammo to shoot down three Germans!).

Having an 'Ace' was a huge advantage, the hardest part of BtH is actually getting to shoot at someone, most of the game consists of zooming around and failing to get a shot. The extra action card for an ace allows you to shoot or move doubling your change of getting off a shot at the right time.

Jerry's planes and the mat with the coast on it looked great, looking forward to playing again perhaps with some bombers next time.

ADLG-R Scots Covenanter v Scots Royalist

Another ADLG-R game against Simon, this time with my Scots Covenanters taking on Simon's Scots Royalists. I opted for a huge army with almost every unit mediocre apart from one elite Pike and Shot regiment and two average medium guns giving a break point of 35! 

I expected Simon's army to be much smaller, the plan being to overwhelm him on the flanks while ideally trading losses in the centre.

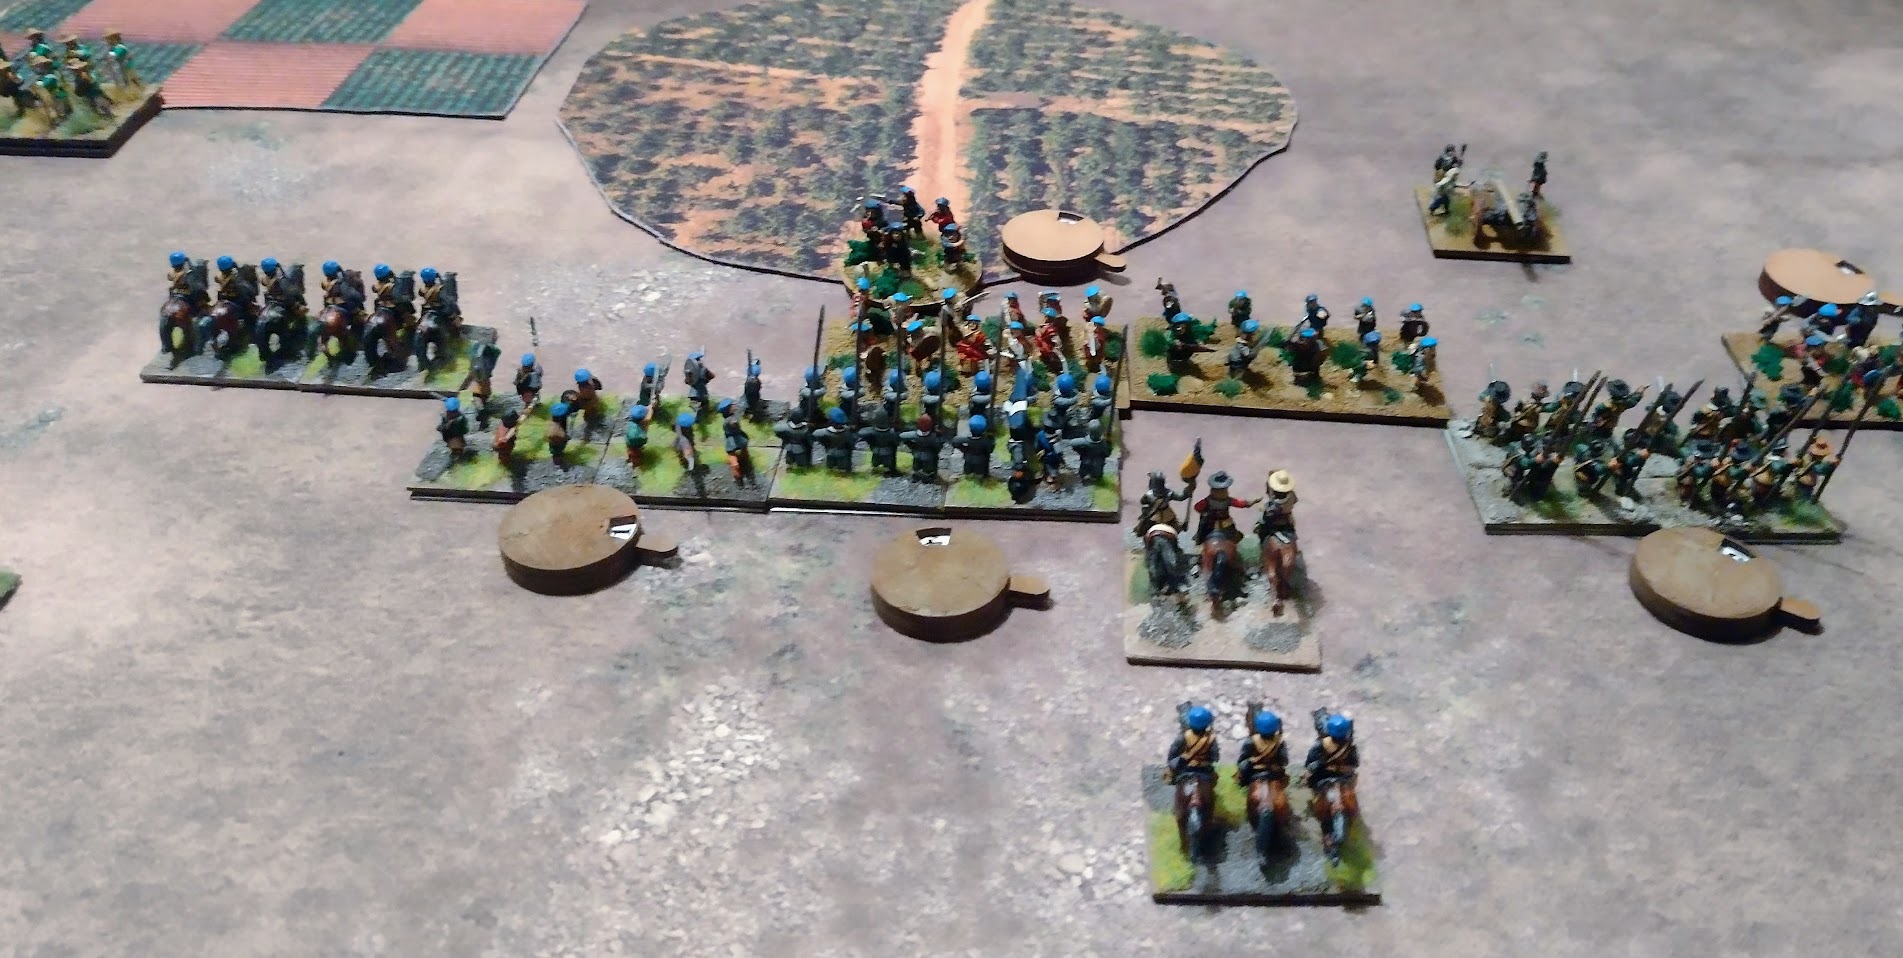
Most of the terrain ended up on the left. Unfortunately for my plan Simon's army was not that much smaller than mine and was of somewhat better quality:      

My army was a mighty horde though, I've never seen so many figures in an ADLG army! 


The initial clash occurred on the right where the more numerous and better quality Royalist cavalry gained an advantage: 

On the left the Covenanters had an advantage but were struggling to use their cavalry up against the terrain:

Charge! The only elite unit in the Covenanter army goes into action:

More violence in the centre where Royalist Highlanders are swarming into the Covenanter lines:

On the left the struggle favours the Covenanters:

Gaps appear in the Covenanter lines as their artillery is quickly overwhelmed:


The Covenanters have more reserves but will they help? 
Covenanter cavalry advance to outflank the Royalist Highlanders, they should have done this before but I forgot to move them: 

The Covenanter line starts to collapse: 

Losses mount on both sides: 

On the left the Covenanters get their act together at last: 

It is too little too late though as the Covenanters break in rout! 


Great fun and interesting to use such an unusual army composition, the Royalists lost a fair few units but it wasn't that close. Unfortunately I ended up making some of my frequent ADLG mistakes again, especially with the cavalry on the left which could have flanked the enemy much quicker.

I also hadn't realised quite how bad the light artillery interspaced between my pike and shot units would be, I should have dropped them back before they could be contacted as they were all wiped out very quickly.


Tuesday, 17 October 2023

What a Cowboy Mexicans v Yankee's

Another game of 'What a Cowboy; this time with my Mexicans taking on Dave's Yankee's partly as I wanted to use some newly finished Mexican/Mediterranean/North African buildings I'd recently finished.

My gang consisted of Tuco (Legend), Big Pedro (Shootist with rifle), Loco, Raoul and Ernesto (Greenhorns) and a Henchmen group (The Three Amigos). Dave's Yankees had a more even spread of abilities with several shootists but no legend.

The mission for the Yankees was to rescue a captive being held by the Mexicans:


Raoul takes up position on a rooftop and observes the advancing Yankees:


The Three Amigos cautiously advance:


Big Pedro, Raoul and Tuco combine to take out the Yankee leader:


The Three Amigos try brawling another Yankee:


One of the Three Amigos goes down while Loco and Raoul move to support them:


Tuco guns down another Yankee:


Ernesto puts another Yankee down:


With only two men left and no injuries to the Mexicans at all the Yankee's flee giving Tuco and his men a comprehensive victory! 

In this game I think I made better use of the Bonanza tokens and the legend abilities of Tuco though I still forgot mostly to use the Desperado cards. Mostly the victory was down to Dave's lack of ability to dodge, he hardly managed to dodge any shots and largely missed when he fired!

Having played a few games now I quite like the way the game plays but it very much lacks the depth and variety of Dead Man's Hand. 

In WAC everything is very generic on the character front so you can't give your gang a distinct flavour and way of operating which very much occurs with DMH. The differences between the various gangs (cowboys, lawmen, outlaws, desperados, bandits and Apache's among others) is really brought out in DMH and there is much more depth to each character. However, DMH is more complicated to play and learn so perhaps less suited to casual play.


ADLG Early Imperial Roman v Ancient British

My Early Imperial Romans took on Simon's Ancient British (actually Gaul's but little to no difference in the lists!). 

The table was fairly open with the Romans slightly stronger on their left and considerably overlapped on the right. Both armies attempted to take advantage of this:


First to engage were the Roman Auxilia on the left, tempting some impetuous Britons out of the safety of a field:

To protect their warriors the chariots charge Legionaries:


The Britons create a gap in the Auxilia line:

On the right the Roman cavalry attempt to hold off numerous Britons:

The situation does not look promising for the Legions with their right being protected by a couple of cavalry facing numerous heavy foot against which they are ineffective:

A gap appears in the Auxiliary line:


On the right the cavalry and Moors battle on but are being flanked by British infantry:


On the left the Auxilia gain the upper hand while the Legions are still pushing forward:


The Legions are slowly being ground down:


The Auxilia have mopped up the remaining British:


The Britons have broken through the Roman lines and are attacking the camp:


The Romans attempt to save the camp:


The camp remarkably holds on despite more Britons assaulting it:


Eventually the camp falls sending the Roman army to defeat:


Back to my old habits of making several positional errors in ADLG games and perhaps not having the best army list I could have had. It was a bit closer than I thought it would be for a while but the loss of the camp tipped the army over the edge, having said that the camp heroically held out for several turns which it really shouldn't have done!