My force consisted of an Infantry KG supported by some Stug's, a Volksgrenadier KG with some attached Marders and a Panzer Grenadier KG equipped with Panthers. Andy's British consisted of a Paratroopers Brigade supported by some Churchills and a mixed Armoured Regiment of Shermans and Comets.
I wasn't too sure how to use the Germans to the best advantage, assuming that I'd have to attack the Infantry and Volksgrenadier KG's seemed weak and slow to move.
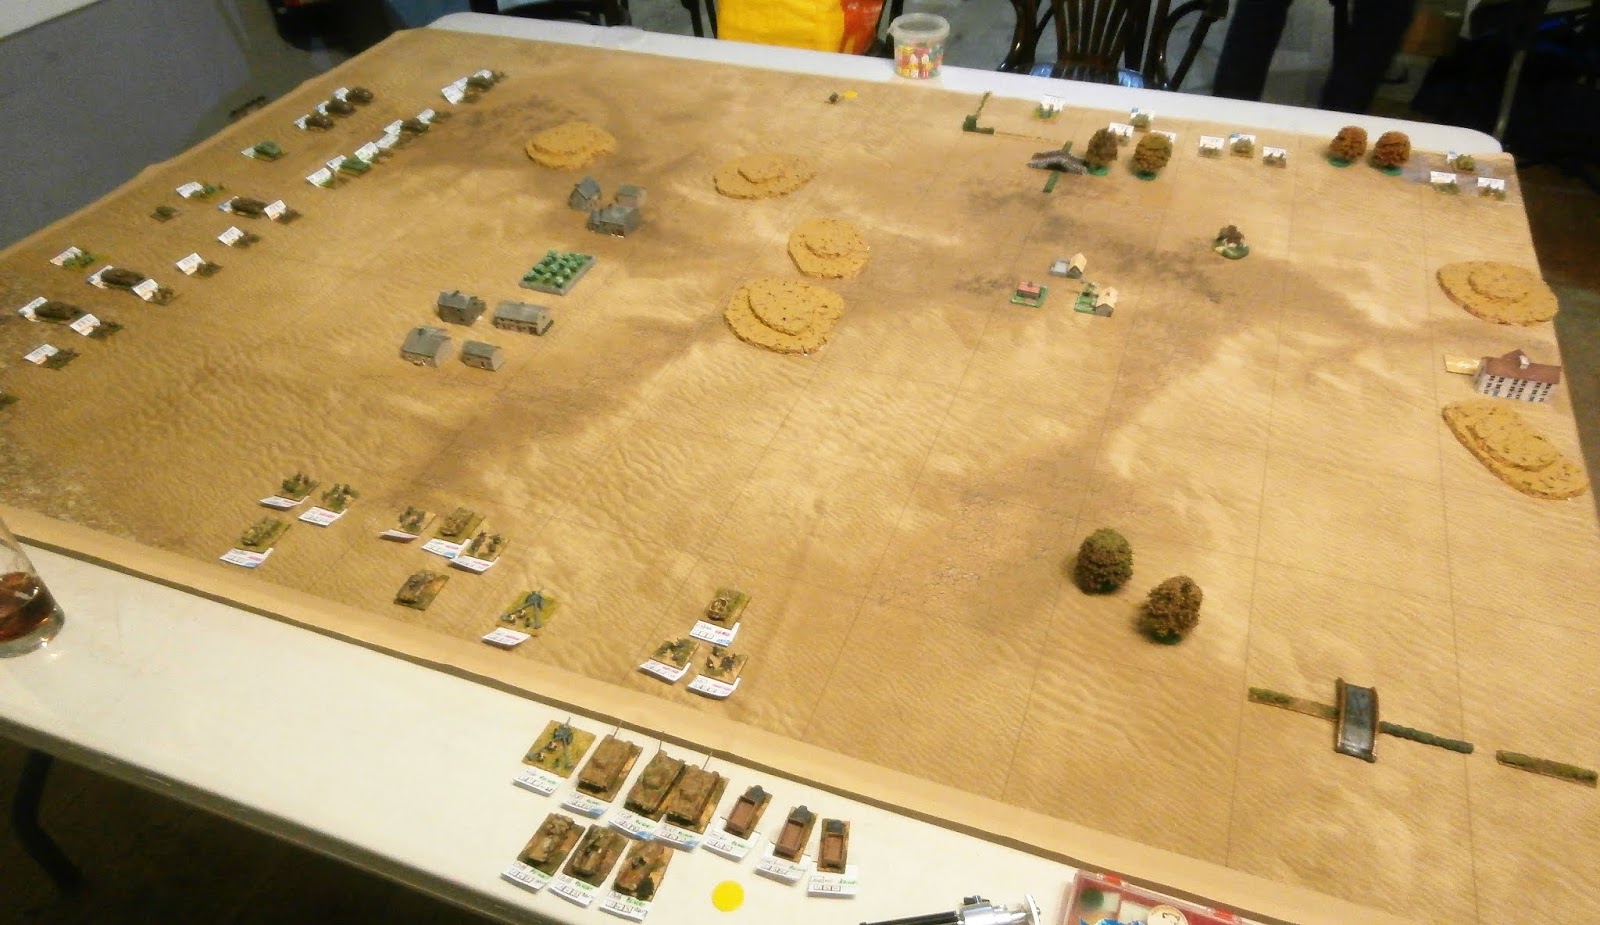
In this scenario the Germans have to keep 1/3 of their force off table to arrive as reinforcements while the remaining 2/3 are deployed on the flanks of the battlefield. Initially I was going to use the Volksgrenadiers as the reserve but decided to use the Panzer Grenadiers instead as they would be able to choose where to arrive and attack swiftly when they did.
The battlefield had a number of towns, hills and woods with the British objective being a town at the opposite end of the table. To win they had to hold the town until nightfall and exit at least 7 units from the table edge where the town was


The idea behind holding this much of the Para Brigade back was to try to maintain a line of communication, isolated units are much harder to move.


All the British forces near the objective were now isolated. The British counter-attacked against the German Infantry KG but met with only limited success, causing some German losses but taking several hits themselves.


This game went better than I thought it would, deploying the Volksgrenadiers and the Infantry KG initially worked well as they isolated and weakened the British prior to the arrival of the Panzer Grenadiers who could also choose the best place to attack from.
I think Andy left far too much of his Para Brigade back to try to stop his attacking force being isolated. Having played this a few times now I don't think you can prevent your main force being isolated so it is best to accept this and put everything into the attack with nothing holding back. In our last game that worked well for me when I was the attacker. Having said that Andy did have miserable combat die rolls which probably didn't help.
Compared to the 3mm tanks we have used previously the 10mm ones did look nice but there were not many of them. You could certainly see the infantry bases better!
I like the 10mm bt think that maybe 6mm 1/285 is the way to go!
ReplyDelete